NEXT GENERATION LAB SOFTWARE FOR DIGITAL DENTISTRY
A trusted technology provider for over 20 years.
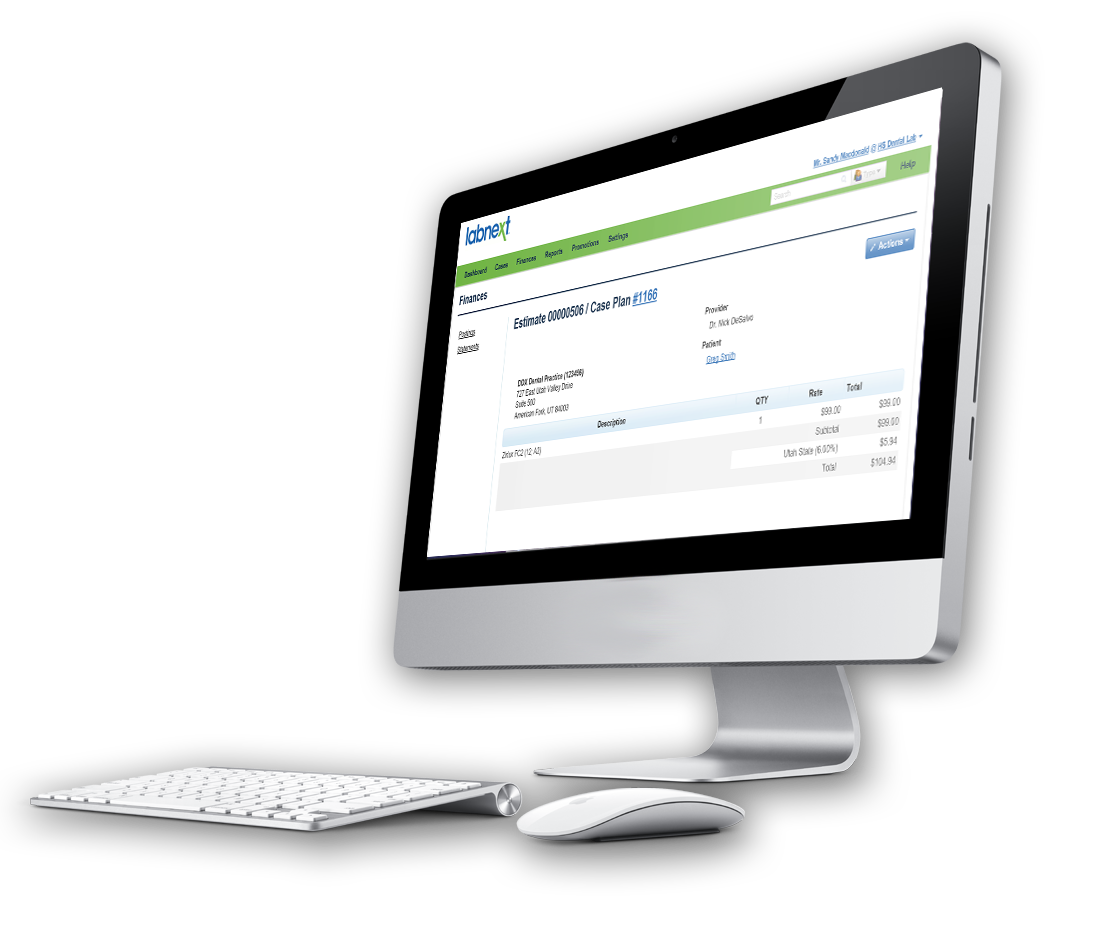
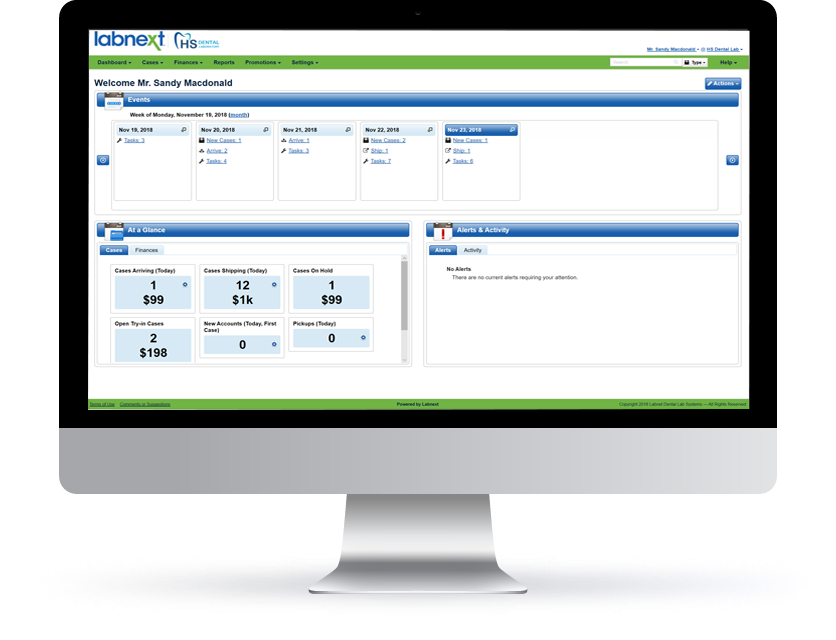
Labnext is a web-enabled application that allows labs to manage operations more efficiently and communicate with dentists more effectively.
Lab software for digital dentistry
Cloud-based for easy access and low maintenance
Powerful functionality and easy to use
Unparalleled connection with your customers via intimate DDX integration
The Tools to Manage and Grow Your Business
Regardless of the size and sophistication of your laboratory, Labnext has the functionality to meet your needs:
Comprehensive account management tools to acquire, grow and retain customers
Flexible case scheduling to meet your unique production requirements
Powerful billing and financial management functionality that supports tailored customer pricing and real-time visibility
Integrated marketing that drives customer education and purchasing
Powerful reporting to uncover valuable business intelligence
Fast and accurate case entry and invoicing for staff efficiency
Labs trust Labnext
Dental laboratory management software
Designed for Today’s Dentistry
Integration with leading design software
Mobile application for drivers
Integration with leading couriers
Integrated credit card processing
Integration with leading accounting software
The Most Powerful Practice Portal
Tight integration with practice management applications run by over 50% of dentists including Dentrix, axiUm and Open Dental
Integration with intraoral scanners including CEREC, iTero, Planscan, TRIOS and True Definition
Advanced functionality to support aligner ordering
A Modern Cloud-Based Management Software from Henry Schein
No large upfront software purchase
No software to install, manage or update
Accessible anywhere through your internet browser
A solution that’s right for your lab
Our industry is changing and Labnext has been designed for this digital era.
Labnext is available in flexible packages to meet the requirements and budget of any dental lab. Plus, frequent software updates that continuously enhance your Labnext management software investment.
Digital dental laboratory Intergrations
Contact Our Team
Lab management software designed specifically for digital dentistry

Copyright © 2021 Labnet Dental Lab Systems. All Rights Reserved.